Installing a door block with a plasterboard partition
You have opted for a plasterboard partition and you wish to install a door block?
Check out our tutorial, accessible for intermediate level handymen.
Step 1: Set the door block at the right height
- Measure the door block and mark the excess to be cut.
- Cut the heels of the frame with a saw.
- Sand carefully until a smooth surface is obtained.
Step 2 : Prepare the positioning of the door block
- Put the door block in the vertical position.
- Determine the location of the partitions.
- Trace the layout of the partitions on the floor and ceiling.
- Reserve the door space.
- Check the width of the door.
Step 3: Install the metal posts on the floor
- Install the metal studs of the partitions.
- Drill and fasten the metal stud in the marked location.
- Put the knock-in dowels in place.
- Reinforce them with a hammer.
Step 4: Install my metal ceiling studs
- Position and secure the metal stud to the ceiling.
Step 5: Make the frame to install the door block
- Check the ceiling height.
- Transfer the measurement to the metal stud.
- Cut the metal stud to the rib under the ceiling.
- Position one of the metal uprights vertically.
- Attach and prepare the door frame.
- Check for plumbness.
- Screw the post to the floor.
- Screw the post to the ceiling.
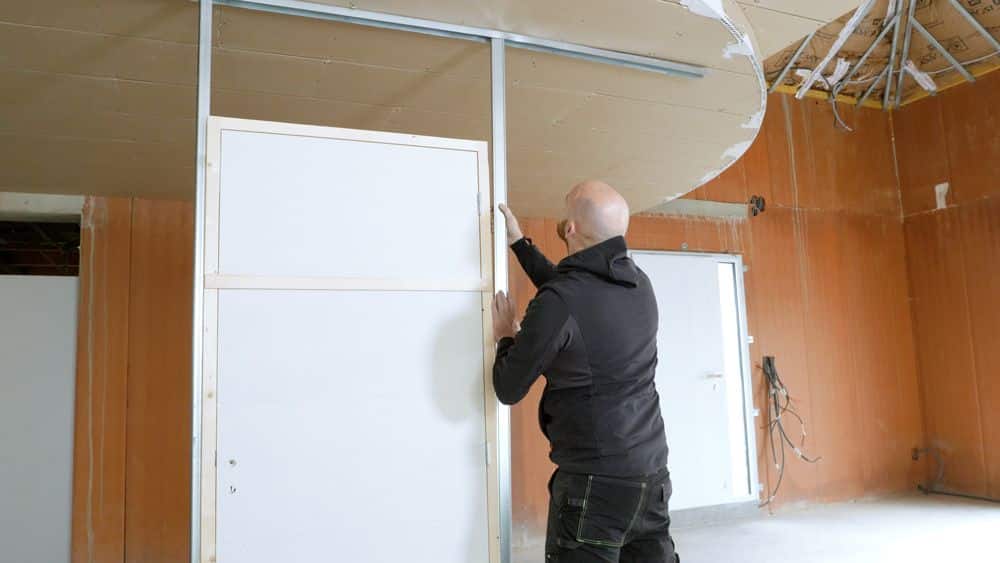
Step 6: Installing the door block
- Install the door block in the first jamb.
- Position the 2nd upright for interlocking.
- Attach the 2nd post.
- Check the level.
- Your door block is installed.