Installing a sliding door
Do you want to install a sliding door in your home?
Check out our tutorial, accessible for intermediate level handymen.
Step 1: Prepare the chassis box
- Remove the protective post.
Step 2 : Prepare the installation of the door
- Place the door on the trestles.
- Mark the center distances for the castor brackets.
- Measure and check caster locations.
- Screw on the mounting brackets.
Step 3: Screw the brackets to the door
- Screw on the mounting brackets.
Step 4: Install the sliding system
- Install the casters in the slide rail.
- Observe the direction in which the casters are installed.
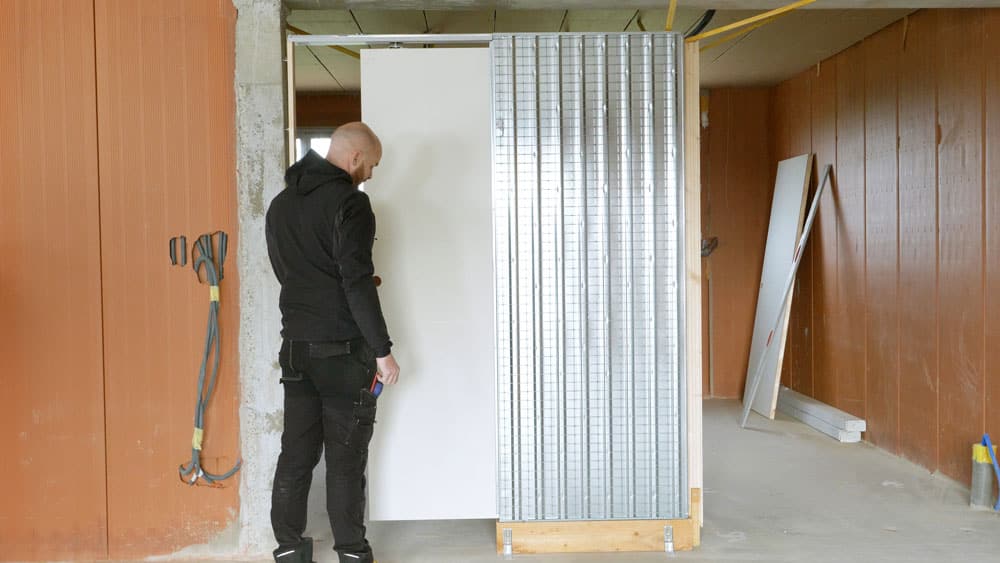
Step 5: Installing the door
- Place the door in the top rail system.
Step 6: Installing the casters
- Position the casters in the brackets.
- Adjust the level of the door by loosening and tightening the bolt.
- Tighten the nuts to complete the operation.
- Your door is installed.